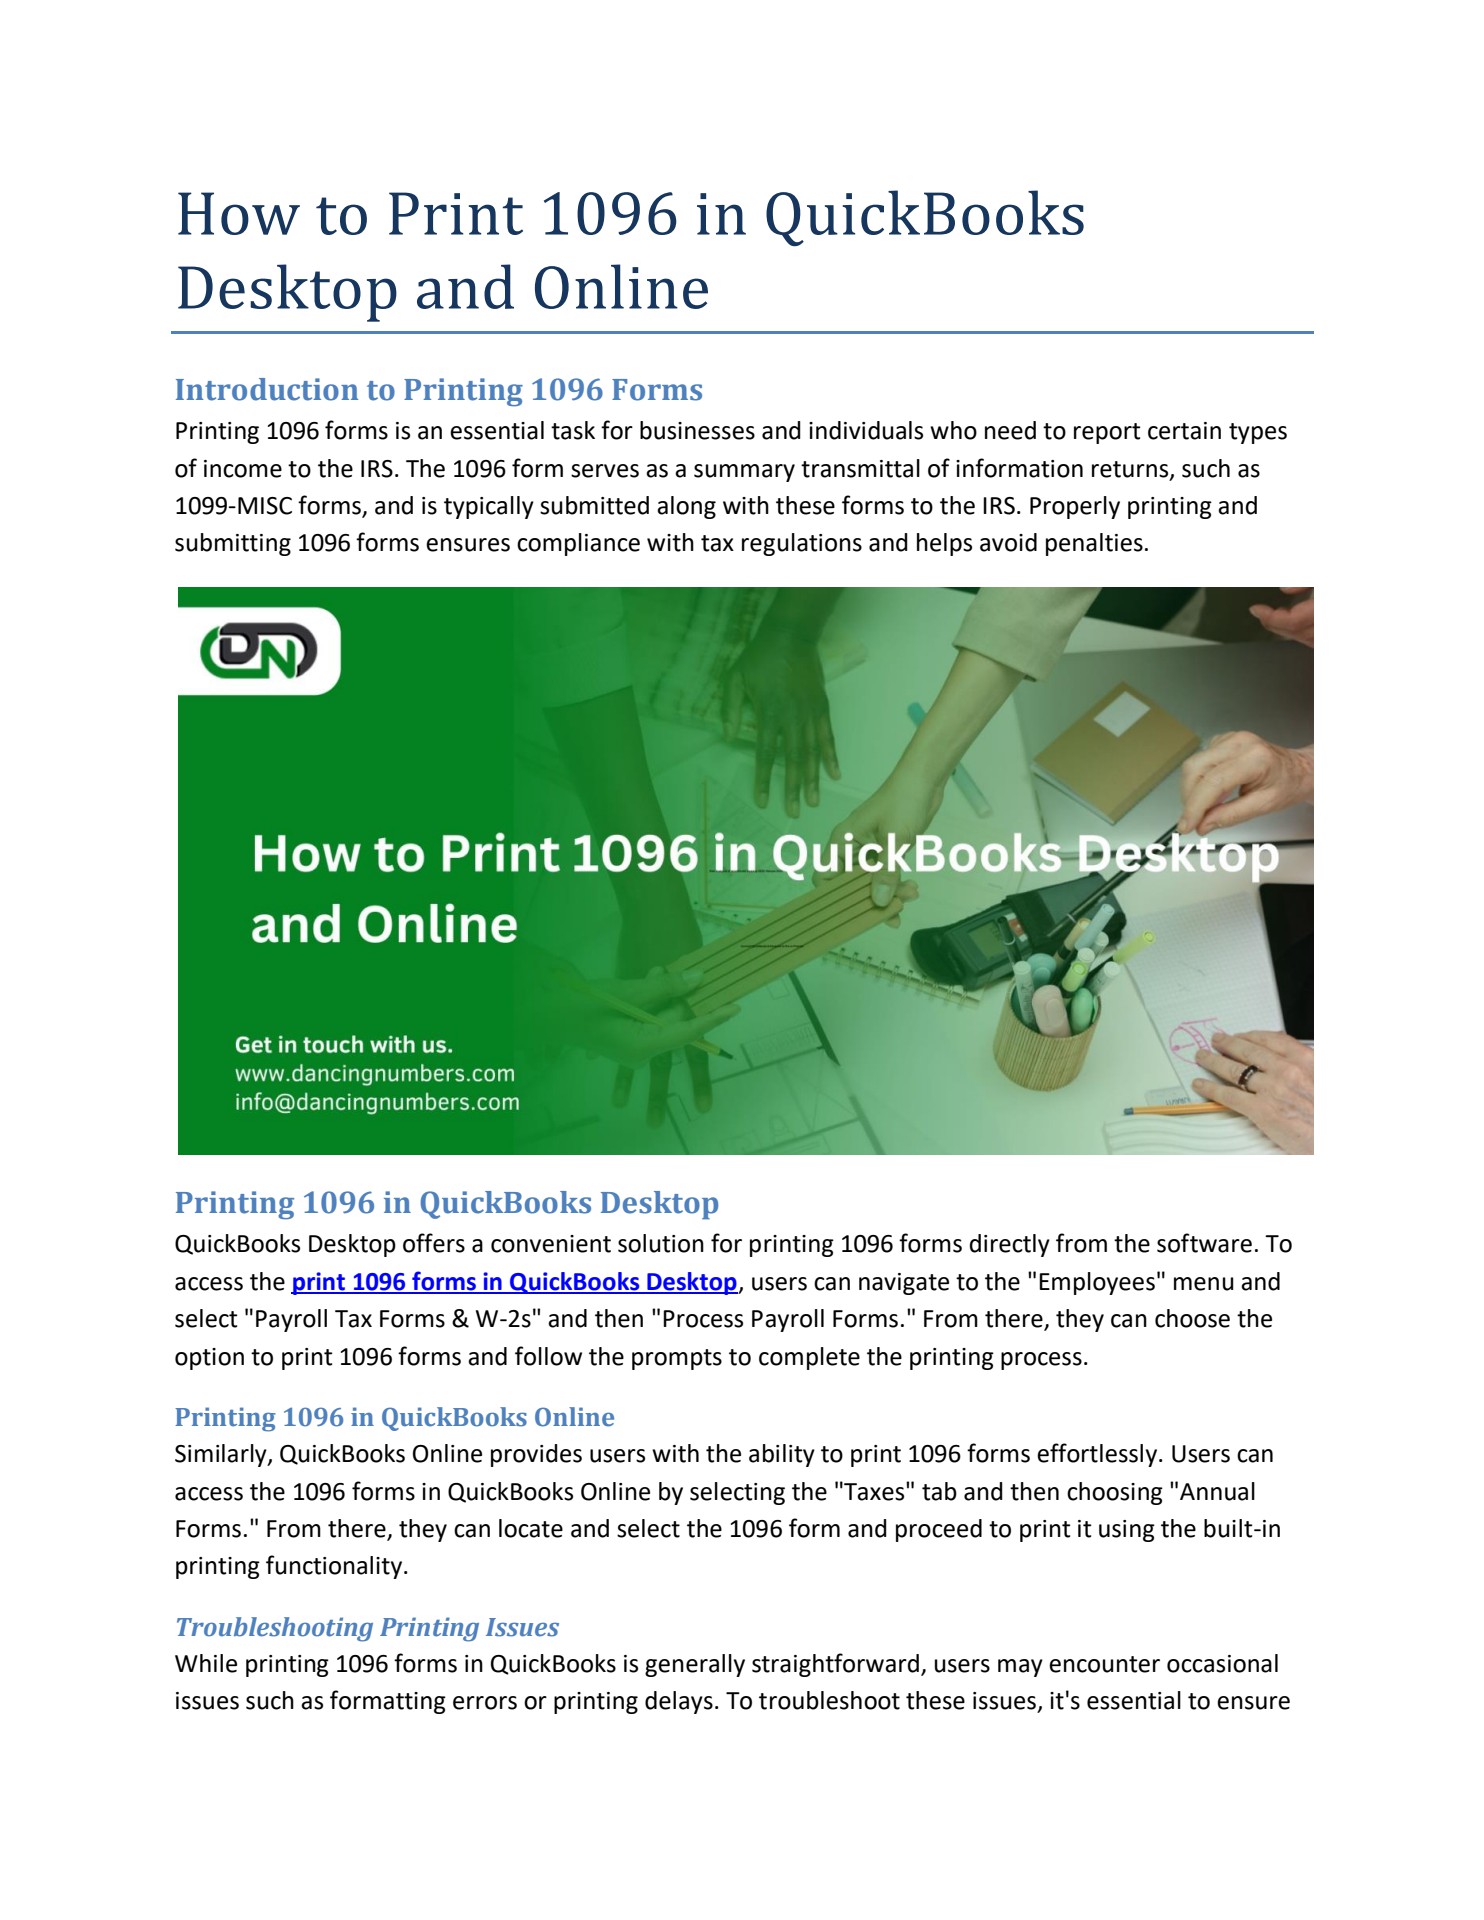
Print 1096 Form Quickbooks Desktop: A Comprehensive Guide
In the world of business and finance, accuracy and efficiency are paramount. When it comes to managing and reporting financial data, QuickBooks Desktop is a trusted software solution. One crucial aspect of financial reporting is the preparation and printing of Form 1096, which is essential for businesses that have made certain payments to independent contractors. This guide will provide a comprehensive overview of how to print Form 1096 using QuickBooks Desktop, ensuring accuracy, compliance, and seamless execution.
Understanding the purpose and importance of Form 1096 is vital. It serves as an informational return filed with the Internal Revenue Service (IRS) to report payments made to non-employees. By providing clear instructions and troubleshooting tips, this guide will empower you to navigate the process of printing Form 1096 in QuickBooks Desktop with confidence.
Overview of Print 1096 Form in QuickBooks Desktop

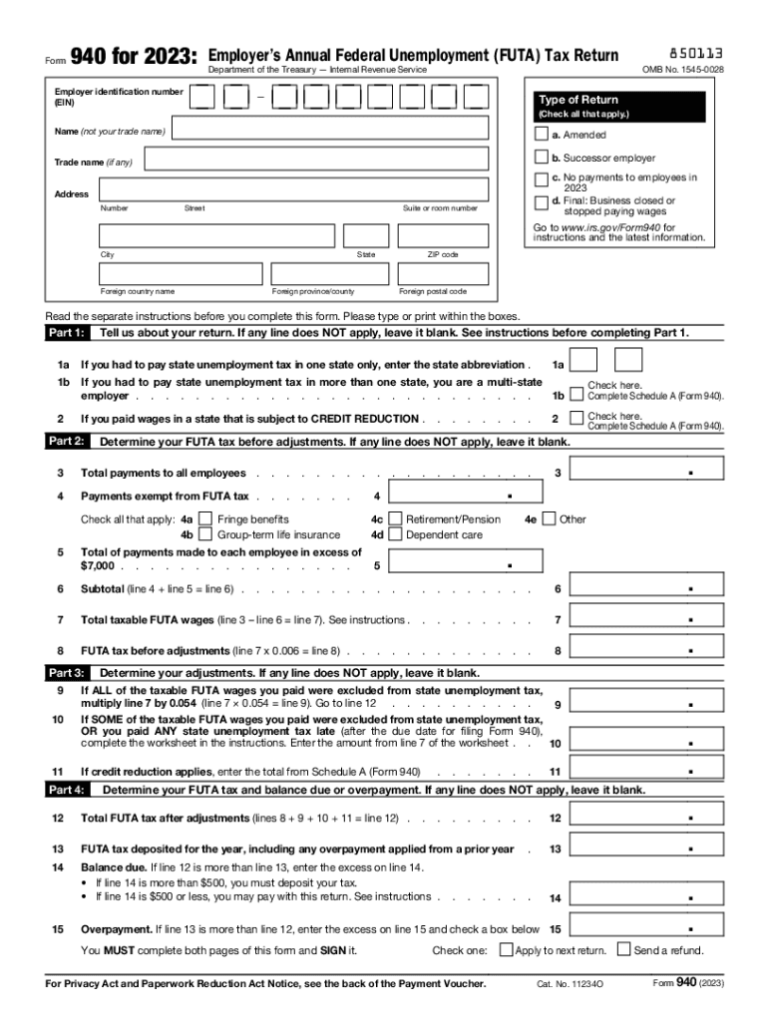
Form 1096, also known as the Annual Summary and Transmittal of U.S. Information Returns, is a crucial tax document that businesses must file with the Internal Revenue Service (IRS) to report certain types of payments made to individuals and entities during the tax year. It’s used to summarize and transmit Forms 1099, which detail payments made to independent contractors, freelancers, and other non-employees.
QuickBooks Desktop makes it easy to print Form 1096 and the accompanying Forms 1099. Here’s how you can do it:
Accessing the Print 1096 Form Option
To access the Print 1096 Form option, follow these steps:
- Open QuickBooks Desktop and navigate to the “Taxes” menu.
- Select “1099 Forms” and then “Print 1096 Forms.”
- Choose the tax year for which you need to print the forms.
- Review the information on the form and make any necessary changes.
- Click “Print” to generate the Form 1096 and any accompanying Forms 1099.
Configuring Print Settings for Form 1096

Blud, listen up! When you’re ready to print your 1096 Form, you’ll need to sort out your print settings. These settings are like the finishing touches that make sure your form looks spick and span.
First up, let’s chat about paper size. You can choose between A4, letter, or legal size. Pick the one that fits your fancy.
Margins
Next, let’s talk margins. These are the blank spaces around the edges of your form. You can customize them to make sure everything fits snugly. Just adjust the top, bottom, left, and right margins to your liking.
Orientation
Now, let’s decide on the orientation. You can print your form either in portrait (up and down) or landscape (sideways). It’s all about what looks best for you.
Print Range and Number of Copies
Finally, you need to set the print range and number of copies. The print range lets you choose which pages to print, and the number of copies lets you print as many as you need.
Troubleshooting Common Issues with Printing Form 1096

Encountering issues while printing Form 1096? Don’t fret, mate. This guide will help you troubleshoot common problems and get your forms sorted in no time.
Missing or Incorrect Data on the Printed Form
If you’re printing Form 1096 and find that certain data is missing or incorrect, it’s likely due to a few common reasons:
- Incorrect Data Entry: Double-check that the information you entered into QuickBooks is accurate and complete. Any errors in the data will be reflected on the printed form.
- Missing or Corrupted Files: Ensure that all necessary files and forms are present and not corrupted. Missing or damaged files can lead to incomplete or incorrect data on the printed form.
- Printer Settings: Verify that your printer is set up correctly and has the appropriate paper size and orientation for Form 1096.
Advanced Features for Printing Form 1096
Customise your Form 1096 printing process in QuickBooks Desktop with advanced options. Apply specific filters to generate tailored reports and export the printed form to various file formats for convenient sharing and storage.
Printing Form 1096 with Filters
Narrow down your search by applying filters to your Form 1096 printing. Specify criteria such as vendor name, date range, or specific transaction types to generate a precise report that meets your needs.
Exporting Printed Form 1096
Once you’ve printed your Form 1096, you can export it to a range of file formats for easy sharing and storage. Choose from options like PDF, Excel, or CSV to suit your preferences and compatibility needs.
Tips and Best Practices for Printing Form 1096

To ensure accurate and efficient printing of Form 1096, consider these tips and best practices:
Verify the accuracy of the printed form:
- Check for any missing or incorrect information.
- Compare the printed form to the electronic version to ensure they match.
Organize and store printed copies of Form 1096:
- Keep printed copies in a secure and organized manner.
- File them by year or recipient for easy retrieval.
- Consider using a filing system or software to manage and track the forms.
FAQ Corner
Can I customize the print settings for Form 1096?
Yes, QuickBooks Desktop allows you to customize various print settings for Form 1096, including paper size, margins, orientation, print range, and number of copies.
What should I do if I encounter errors while printing Form 1096?
This guide provides troubleshooting tips to resolve common errors or problems that may occur while printing Form 1096. If you encounter any issues, refer to the troubleshooting section for assistance.
Can I export the printed Form 1096 to other file formats?
Yes, QuickBooks Desktop offers the option to export the printed Form 1096 to different file formats, such as PDF, Excel, or CSV, for easy sharing and storage.