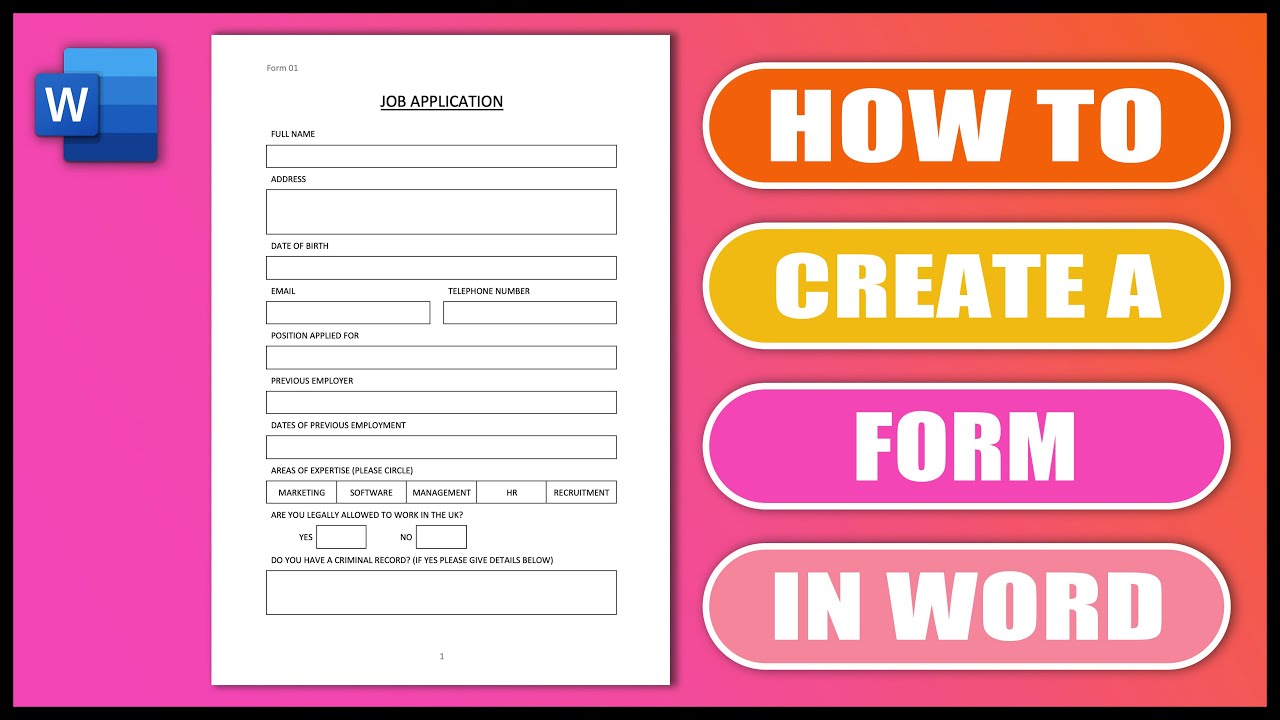
How To Create A Printable Form In Word: A Comprehensive Guide
Creating printable forms in Word is a valuable skill for anyone who needs to collect data or create interactive documents. Whether you’re a student, a business professional, or a stay-at-home parent, knowing how to create a printable form in Word can save you time and effort.
This guide will provide you with step-by-step instructions on how to create a printable form in Word, from start to finish. We’ll cover everything from creating basic form fields to adding interactive elements and customizing the design. By the end of this guide, you’ll be able to create professional-looking printable forms that meet your specific needs.
Creating a Basic Form
Creating a form in Microsoft Word is a straightforward process that enables you to design customisable templates for data collection or specific tasks. Follow these steps to get started:
Setting Up the Document
1. Launch Microsoft Word and create a new document.
2. Adjust the page margins to your desired settings by clicking on the ‘Page Layout’ tab and selecting ‘Margins’. Choose from the predefined options or customise your own margins.
Inserting Text Boxes
1. To create a text box for a form field, navigate to the ‘Insert’ tab and click on ‘Text Box’.
2. Draw a text box on the document where you want the field to appear. You can resize and reposition the text box as needed.
Formatting Text Boxes
1. Right-click on the text box and select ‘Format Shape’ to adjust its appearance.
2. Use the ‘Text Box’ tab to align the text within the box, change the font, and adjust the font size.
Adding Labels
1. To add a label to a text box, insert a new text box next to it.
2. Type the desired label text into the new text box and format it as needed.
3. Position the label text box next to the corresponding form field text box.
Customizing Form Fields

Customizing form fields allows you to tailor your form to meet specific requirements. By modifying their appearance and functionality, you can enhance the user experience and ensure that your form is both visually appealing and easy to use.
Text Boxes
Text boxes are essential for collecting user input. You can customize their appearance by changing their shape, size, and color. To modify the shape, select the text box and choose the desired shape from the “Shape” drop-down menu. To adjust the size, drag the handles at the edges of the text box. To change the color, select the text box and choose a color from the “Fill Color” or “Border Color” drop-down menus.
Borders and Shading
Adding borders and shading to text boxes can improve visual appeal and organization. To add a border, select the text box and choose the desired border style from the “Border” drop-down menu. To change the color of the border, select the border and choose a color from the “Border Color” drop-down menu. To add shading, select the text box and choose a color from the “Fill Color” drop-down menu.
Locking Text Boxes
Locking text boxes prevents them from being accidentally moved during form filling. To lock a text box, right-click on it and select “Format Text Box.” In the “Format Text Box” dialog box, select the “Protection” tab and check the “Lock text box” checkbox.
Adding Interactive Elements
Enhance your form’s functionality with interactive elements like drop-down lists and checkboxes. These elements provide users with a user-friendly and efficient way to interact with your form.
Let’s explore how to create and format these elements:
Drop-Down Lists
Drop-down lists offer users a predefined set of options to choose from. To create one, follow these steps:
- Place the cursor where you want the drop-down list to appear.
- Go to the “Developer” tab and click on “Legacy Tools” > “Drop-Down List (Form Control).”
- A drop-down list will be inserted. Right-click on it and select “Properties.”
- In the “Properties” window, enter the options you want to include in the list, separated by commas.
- Click “OK” to save the changes.
Checkboxes
Checkboxes allow users to select multiple options. To create a checkbox, follow these steps:
- Place the cursor where you want the checkbox to appear.
- Go to the “Developer” tab and click on “Legacy Tools” > “Check Box (Form Control).”
- A checkbox will be inserted. Right-click on it and select “Properties.”
- In the “Properties” window, enter the text that will appear next to the checkbox.
- Click “OK” to save the changes.
Buttons
Buttons trigger specific actions when clicked. To create a button, follow these steps:
- Place the cursor where you want the button to appear.
- Go to the “Developer” tab and click on “Legacy Tools” > “Button (Form Control).”
- A button will be inserted. Right-click on it and select “Properties.”
- In the “Properties” window, enter the text that will appear on the button.
- In the “Assign Macro” field, select the macro that you want the button to trigger.
- Click “OK” to save the changes.
Designing for User Experience

Designing a user-friendly form involves organizing elements logically, using white space effectively, and employing consistent color and fonts. These aspects enhance readability, visual appeal, and overall user experience.
Optimizing Form Layout
– Organize form fields in a logical sequence, following a natural flow of information.
– Use white space strategically to separate sections, improve readability, and prevent clutter.
– Consider the form’s accessibility on both desktop and mobile devices, adjusting layout accordingly.
Protecting and Distributing the Form
Securing and sharing your form effectively ensures its integrity and accessibility. Let’s explore how to safeguard your form and distribute it in various formats.
Locking the Form
Protecting your form from unauthorized editing is crucial. You can lock it by:
- Selecting “Restrict Editing” from the “Review” tab.
- Setting permissions to limit who can edit the form.
Saving and Sharing the Form
Save your form in multiple formats for easy distribution:
- PDF: Portable Document Format (PDF) preserves the form’s layout and content, making it suitable for printing or sharing online.
- DOCX: Microsoft Word’s default format allows for further editing if needed.
Distributing the Form
Share your form securely through various channels:
- Online: Upload the form to a cloud storage service or create a web form using Microsoft Forms.
- Email: Attach the form as a PDF or DOCX file to an email.
Frequently Asked Questions
Can I create a printable form in Word for free?
Yes, you can create a printable form in Word for free. Microsoft Word is a widely available word processing program that comes with most computers. If you don’t have Microsoft Word, you can download a free trial from the Microsoft website.
How do I make a form fillable in Word?
To make a form fillable in Word, you need to insert form fields into the document. Form fields are special objects that allow users to enter data into a form. You can insert form fields by clicking on the “Developer” tab in the Word ribbon and then clicking on the “Form Fields” button.
Can I protect a printable form in Word?
Yes, you can protect a printable form in Word by using the “Restrict Editing” feature. This feature allows you to set permissions for the form, such as who can edit the form and what changes they can make.