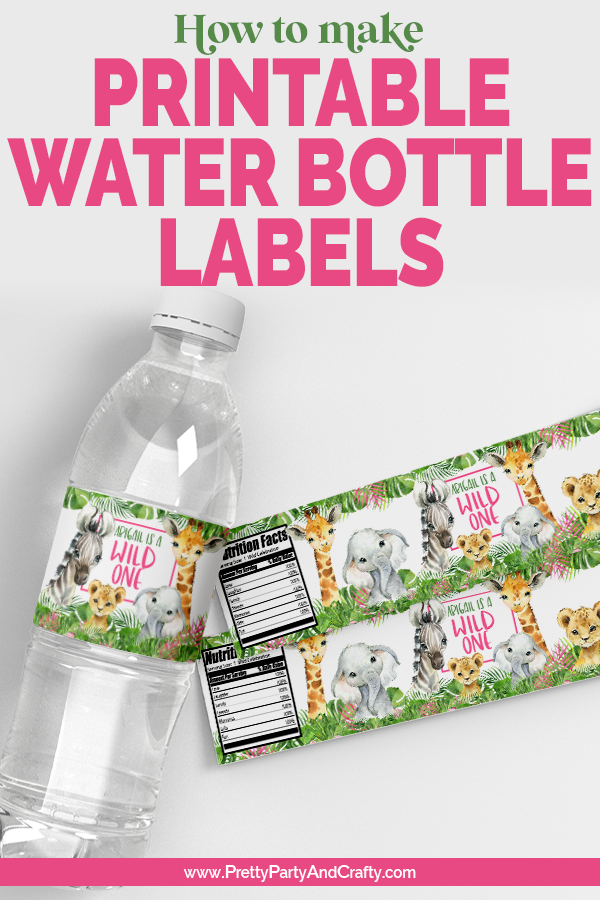
How Do I Print My Own Water Bottle Labels?
Water bottle labels are a great way to personalize your bottles and make them more unique. They can also be used to promote your business or brand. In this article, we will show you how to print your own water bottle labels using a few simple steps.
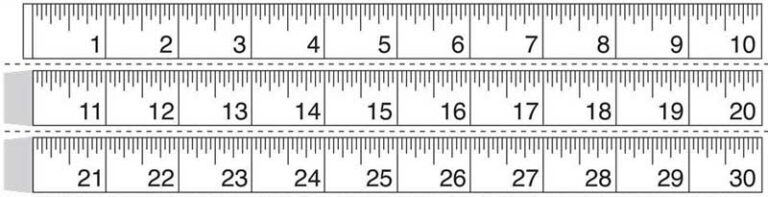
Before you start, you will need to gather a few materials. These include a water bottle, label paper, a printer, scissors, a ruler, and measuring tape.
Materials and Equipment

To embark on this epic adventure of printing your own water bottle labels, you’ll need to gather these bits and bobs:
Firstly, you’ll need an empty water bottle, ready to be transformed into a canvas for your artistic flair. Next up, get your hands on some label paper, the magical stuff that will bring your designs to life.
Now, for the tech wizardry: a printer to spit out your label masterpieces. Don’t forget the trusty scissors to trim those labels to perfection. A ruler and measuring tape will be your trusty sidekicks for precise measurements.
Design and Preparation

The design of your water bottle labels is up to you, but there are a few things to keep in mind.
First, consider the size and shape of your labels. You’ll want to make sure they’re big enough to be seen easily, but not so big that they’re difficult to apply. The shape of your labels will also depend on the shape of your water bottle.
Next, think about the color scheme and fonts you want to use. You’ll want to choose colors that complement each other and that will stand out on the water bottle. You’ll also want to choose fonts that are easy to read and that fit the overall design of your labels.
Finally, decide what text and images you want to include on your labels. You could include your name, a special message, or a design. You could also include images of your favorite things, such as your pet or your hobby.
Prepare the label paper
Once you’ve designed your labels, you’ll need to prepare the label paper for printing. You can do this by cutting the paper to the size of your labels and then peeling off the backing.
Printing the Labels

Now, let’s dive into the juicy details of printing your bespoke water bottle labels.
Printer Settings
Choose your trusty printer and make sure it’s up to the task. Check the printer’s specifications to confirm it can handle the label paper you’ve chosen.
- Set the print quality to “High” or “Best” for sharp and vibrant labels.
- Ensure the printer is set to print on the correct paper size and orientation.
- Consider using a laser printer for crisp and durable prints.
Paper Orientation
Orient the label paper correctly in the printer tray. The orientation depends on the shape and size of your labels.
- For rectangular labels, portrait or landscape orientation may be suitable.
- For circular or oval labels, check the printer’s instructions for specific orientation guidelines.
Print Quality
Once you’ve got the settings sorted, print a test label to check the quality. Inspect the label for any smudges, streaks, or misalignments.
- If the print is too light, adjust the printer’s contrast settings.
- If the labels are misaligned, adjust the paper orientation or printer margins.
Troubleshooting Tips
In the realm of printing, glitches can happen. Here are some common printing issues and how to tackle them:
- Smudged prints: Let the ink dry completely before handling the labels.
- Misaligned labels: Check the paper orientation and printer settings.
- Blank labels: Ensure the printer has ink and the print cartridges are correctly installed.
- Grainy prints: Clean the printer’s print heads.
Applying the Labels

Cleaning the Bottle Surface
To ensure proper adhesion, thoroughly clean the bottle’s surface with soap and water. Remove any dirt, grease, or adhesive residue that may interfere with the label’s bond. Rinse the bottle well and allow it to dry completely before applying the label.
Positioning the Labels
Align the label carefully on the bottle, ensuring it is straight and centered. Use a ruler or measuring tape to ensure even spacing if applying multiple labels. Avoid touching the adhesive side of the label to prevent fingerprints or smudging.
Smoothing Out Air Bubbles
Once the label is positioned, use a squeegee or credit card to smooth out any air bubbles trapped beneath the label. Start from the center and work your way outward, applying gentle pressure to remove all bubbles.
Customization and Creativity
Customizing your water bottle labels is a great way to add some personality to your hydration. There are endless possibilities when it comes to design, so you can let your creativity flow. Here are a few ideas to get you started:
Experiment with different fonts and colors to create a unique look. You can also add personal photos or designs to make your labels truly one-of-a-kind. If you’re feeling festive, you can even create seasonal or themed labels.
When it comes to designing your labels, the sky’s the limit. Don’t be afraid to experiment with different ideas and see what you come up with. The more creative you are, the more unique your water bottle labels will be.
Common Queries
Can I use any type of paper to print my labels?
No, you will need to use special label paper that is designed for use with inkjet or laser printers.
How do I make sure the labels adhere properly to the water bottle?
Make sure the bottle surface is clean and dry before applying the labels. You can also use a hair dryer to heat the labels and help them adhere.
Can I customize the labels with my own designs?
Yes, you can use any design software to create your own custom labels. You can also find many free templates online.